How To Get Tendon Out Of Chicken Breast: A Comprehensive Guide
Removing tendons from chicken breasts is an essential skill for anyone who loves cooking at home. Whether you're preparing a simple dish or an elaborate meal, knowing how to properly clean and prepare chicken can significantly enhance the texture and taste of your food. In this article, we will explore step-by-step techniques to help you remove tendons from chicken breasts effortlessly.
Chicken is one of the most versatile and widely consumed meats globally. Its mild flavor and tender texture make it a favorite among home cooks and professional chefs alike. However, the presence of tendons in chicken breasts can sometimes ruin the dining experience if not properly addressed. Learning how to remove these tendons is crucial for achieving the best results in your cooking.
This article will provide you with all the necessary information to master the art of tendon removal from chicken breasts. From understanding what tendons are to practical tips and tricks, we’ve got you covered. Let’s dive in!
Read also:Remembering Andy Griffith A Tribute To A Legendary Star Who Passed Away
Table of Contents
- What Are Tendons?
- Why Should You Remove Tendons from Chicken Breasts?
- Tools You Need to Remove Tendons
- Step-by-Step Guide to Remove Tendons
- Common Mistakes to Avoid
- Tips for Beginners
- Alternatives to Removing Tendons
- Health Benefits of Properly Prepared Chicken
- Delicious Recipes Using Tendon-Free Chicken Breasts
- Conclusion
What Are Tendons?
Tendons are fibrous connective tissues that attach muscles to bones. In the context of chicken breasts, tendons are the thin, tough, whitish or slightly yellowish cords that you often find attached to the meat. These tendons can make the chicken breast tough and unpleasant to eat if not removed before cooking.
While tendons themselves are edible, they can negatively impact the overall texture of your dish. Removing them ensures that your chicken breast remains tender and juicy, making it more enjoyable for your family and guests.
Types of Tendons in Chicken Breasts
There are generally two types of tendons you might encounter when preparing chicken breasts:
- Thick tendons: These are the more prominent and noticeable ones, usually found near the bottom of the chicken breast.
- Thin tendons: These are smaller and may require a closer inspection to locate and remove.
Why Should You Remove Tendons from Chicken Breasts?
Removing tendons from chicken breasts is important for several reasons:
- Improved texture: Tendons can make the chicken breast tough and chewy, which detracts from the overall dining experience.
- Enhanced presentation: A clean, tendon-free chicken breast looks more appetizing and professional.
- Better flavor absorption: Removing tendons allows marinades and seasonings to penetrate the meat more evenly, enhancing the flavor.
By taking the time to remove tendons, you ensure that your dish not only tastes better but also presents beautifully on the plate.
Tools You Need to Remove Tendons
Having the right tools can make the tendon-removal process much easier and more efficient. Here’s what you’ll need:
Read also:Graduation Day Inspirational Poems To Celebrate Your Journey
- A sharp knife: A paring knife or a boning knife works best for this task.
- Cutting board: Use a clean, sturdy cutting board to ensure stability while working.
- Gloves (optional): If you prefer, you can wear kitchen gloves to keep your hands clean and protected.
Investing in high-quality kitchen tools will not only make the process smoother but also ensure your safety while handling raw meat.
Step-by-Step Guide to Remove Tendons
Step 1: Inspect the Chicken Breast
Begin by thoroughly examining the chicken breast to locate any visible tendons. Look for the thin, whitish cords that are usually attached near the bottom of the breast.
Step 2: Prepare Your Workspace
Place the chicken breast on your cutting board with the smooth side facing up. Ensure your knife is sharp and within easy reach.
Step 3: Locate the Tendon
Use your fingers to gently feel for the tendon. It should be easy to identify as a firm, cord-like structure running along the edge of the meat.
Step 4: Cut the Tendon
With your knife, carefully cut along the edge of the tendon, making sure not to damage the surrounding meat. Use a gentle sawing motion to avoid tearing the chicken breast.
Step 5: Remove the Tendon
Once you’ve cut through the tendon, use your fingers or the tip of your knife to gently pull it away from the meat. Discard the tendon or save it for stock if desired.
Common Mistakes to Avoid
Here are some common mistakes people make when removing tendons from chicken breasts:
- Using a dull knife: A dull knife can make the process more difficult and increase the risk of injury.
- Rushing the process: Taking your time ensures you remove all tendons without damaging the meat.
- Not inspecting thoroughly: Missing small tendons can result in a less-than-ideal texture in your final dish.
Avoiding these mistakes will help you achieve better results and a more enjoyable cooking experience.
Tips for Beginners
If you’re new to removing tendons from chicken breasts, here are some helpful tips:
- Practice on cheaper cuts: Start with less expensive chicken breasts to hone your skills before moving on to premium cuts.
- Watch tutorial videos: Visual aids can provide valuable insights and help you understand the process better.
- Ask for advice: Don’t hesitate to seek guidance from experienced cooks or chefs.
With practice and patience, you’ll soon become proficient in tendon removal.
Alternatives to Removing Tendons
If removing tendons seems too daunting, consider these alternatives:
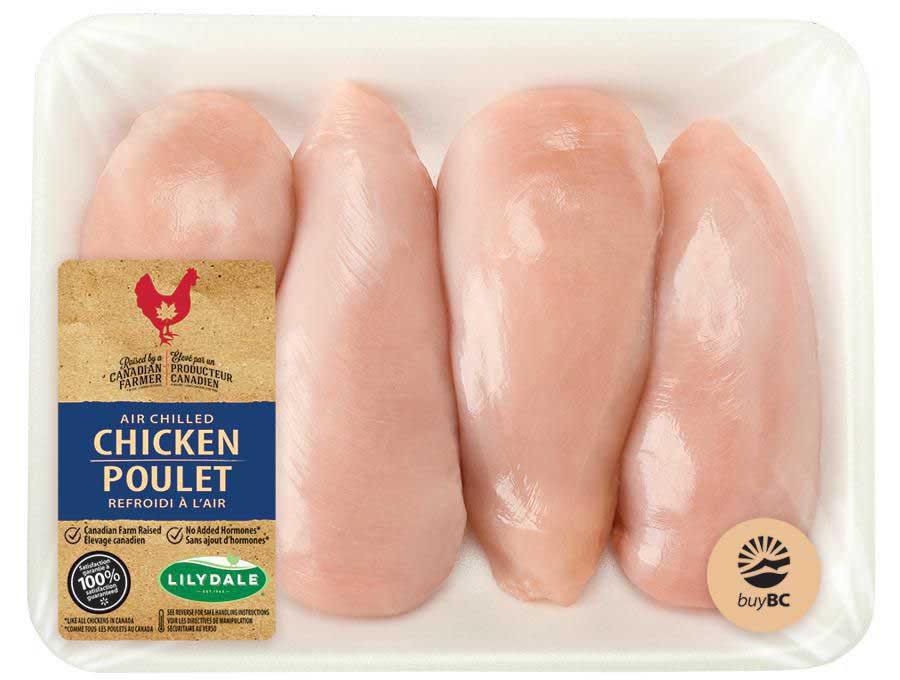
- Buy pre-cut chicken breasts: Many grocery stores offer chicken breasts that have already had the tendons removed.
- Use different cuts of chicken: Opt for boneless, skinless chicken thighs, which are naturally tender and less likely to contain tendons.
These options can save you time and effort while still allowing you to enjoy delicious chicken dishes.
Health Benefits of Properly Prepared Chicken
Properly preparing chicken, including removing tendons, can offer several health benefits:
- Improved digestion: Removing tough fibers like tendons makes the chicken easier to digest.
- Enhanced nutrient absorption: Tender meat allows your body to better absorb the nutrients present in chicken, such as protein and vitamins.
By focusing on proper preparation techniques, you can maximize the nutritional value of your meals.
Delicious Recipes Using Tendon-Free Chicken Breasts
Here are a couple of recipes to try with your freshly prepared, tendon-free chicken breasts:
Recipe 1: Lemon Herb Roasted Chicken
Ingredients:
- 4 boneless, skinless chicken breasts
- 2 lemons, sliced
- 2 tablespoons olive oil
- 1 tablespoon dried herbs (oregano, thyme, rosemary)
- Salt and pepper to taste
Instructions:
- Preheat your oven to 400°F (200°C).
- Place the chicken breasts in a baking dish and season with salt, pepper, and herbs.
- Drizzle with olive oil and top with lemon slices.
- Bake for 25-30 minutes or until the chicken is cooked through.
Recipe 2: Grilled Chicken Salad
Ingredients:
- 4 boneless, skinless chicken breasts
- Mixed greens
- Cherry tomatoes, halved
- Cucumbers, sliced
- Avocado, sliced
- Balsamic vinaigrette
Instructions:
- Season the chicken breasts with your choice of spices and grill until cooked through.
- Chop the chicken into bite-sized pieces.
- Toss the mixed greens, tomatoes, cucumbers, and avocado in a bowl.
- Add the grilled chicken and drizzle with balsamic vinaigrette.
Conclusion
Learning how to get tendon out of chicken breast is a valuable skill that can elevate your cooking to the next level. By following the steps outlined in this article, you can ensure that your chicken dishes are tender, flavorful, and visually appealing.
We encourage you to practice these techniques and experiment with different recipes to find what works best for you. Don’t forget to share your experiences and favorite recipes in the comments below. And if you enjoyed this article, feel free to share it with your friends and family!
Happy cooking, and remember—preparation is key to creating delicious, healthy meals!

