How To Remove Tendon From Chicken Breast: A Comprehensive Guide
Learning how to remove tendon from chicken breast is an essential skill for anyone who wants to elevate their cooking experience. Whether you're preparing a delicate chicken dish or simply aiming to clean your chicken properly, understanding the process can make a significant difference in the texture and taste of your meals. Tendons, though harmless, can ruin the tenderness of your chicken if not removed correctly.
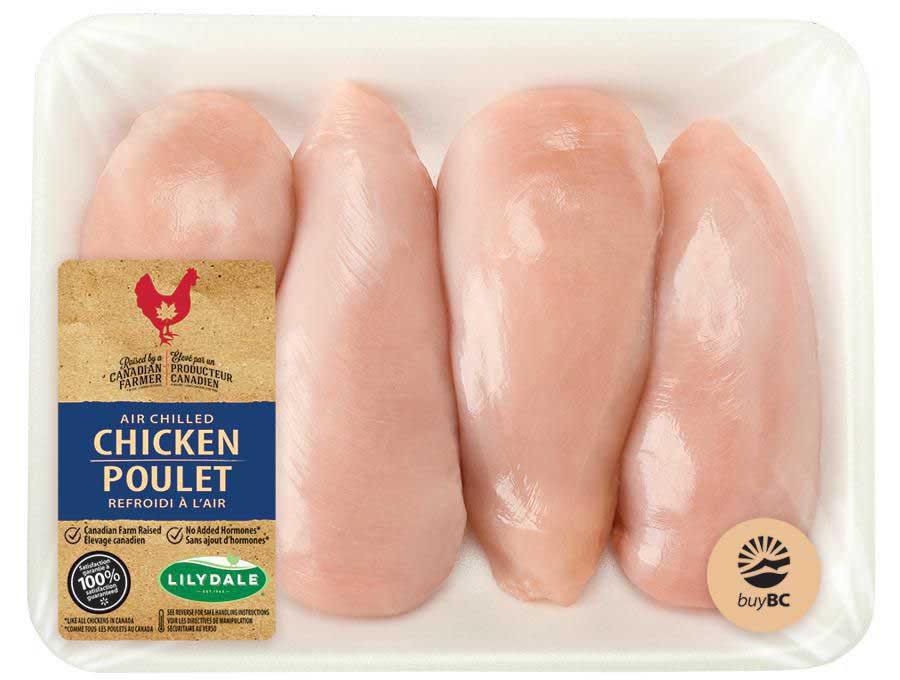
Chicken breast is one of the most versatile cuts of meat, but its tendons can sometimes be a challenge for home cooks. These tendons, often found at the bottom of the chicken breast, can make the meat feel tough and chewy if left unattended. Removing them is a simple yet crucial step in preparing a perfect chicken dish.
This guide will walk you through the process of removing tendons from chicken breasts step by step. By the end of this article, you'll have the confidence and knowledge to ensure your chicken dishes are tender, flavorful, and restaurant-quality. Let’s dive in!
Read also:Peter Navarro Parents Nationality A Comprehensive Analysis
Table of Contents
- Why Remove Tendon from Chicken Breast?
- Identifying Tendons in Chicken Breast
- Tools Needed for Removing Tendons
- Step-by-Step Guide to Removing Tendons
- Common Mistakes to Avoid
- Cooking Tips for Chicken Breast
- Variations of Removing Tendons
- Health Benefits of Removing Tendons
- Frequently Asked Questions
- Conclusion
Why Remove Tendon from Chicken Breast?
Removing tendons from chicken breast isn't just about aesthetics; it significantly impacts the texture and quality of your dish. Tendons are tough, fibrous bands that connect muscles to bones. While they're completely edible, they don't break down easily during cooking, leading to a chewy and unpleasant texture.
By removing these tendons, you ensure that your chicken breast remains tender and juicy. This is particularly important if you're preparing dishes like grilled chicken, stir-fries, or chicken salads, where texture plays a key role in the overall dining experience.
Enhancing Flavor and Texture
Removing tendons also helps in marinating the chicken more effectively. Without the tough bands, marinades penetrate deeper into the meat, enhancing the flavor profile. This simple step can elevate your home-cooked meals to restaurant standards.
Identifying Tendons in Chicken Breast
Before you can remove tendons, you need to know how to identify them. Tendons are usually found at the bottom of the chicken breast, near the thicker end. They appear as thin, translucent, and slightly rubbery bands. Sometimes, they might be attached to a small piece of meat, making them easier to spot.
Visual Inspection
Start by inspecting the chicken breast carefully. Look for the small, thin strips that run along the edge of the meat. These tendons are usually white or slightly yellowish in color and stand out against the pinkish hue of the chicken breast.
Tools Needed for Removing Tendons
To remove tendons effectively, you'll need the right tools. While the process is relatively simple, having the correct equipment makes it easier and more efficient.
Read also:Where Did Lennon Get Shot The Tragic Story Behind The Loss Of A Legend
- Sharp Knife: A sharp boning knife or paring knife is ideal for precision cutting.
- Cutting Board: A sturdy cutting board provides a stable surface for cutting.
- Gloves (Optional): If you're concerned about hygiene, you can use kitchen gloves to handle raw chicken.
Step-by-Step Guide to Removing Tendons
Now that you have the necessary tools, let's dive into the step-by-step process of removing tendons from chicken breast.
Step 1: Prepare Your Workspace
Ensure your cutting board and knife are clean and ready for use. Place the chicken breast on the cutting board with the thicker end facing you.
Step 2: Locate the Tendon
Carefully inspect the chicken breast to locate the tendon. It will usually be near the thicker end, running along the edge of the meat.
Step 3: Make the First Cut
Using your sharp knife, make a small incision at the base of the tendon. Be careful not to cut too deep into the meat.
Step 4: Remove the Tendon
Once you've made the initial cut, gently grasp the tendon with your fingers or kitchen tweezers and pull it away from the meat. Use the knife to carefully cut any remaining attachments.
Step 5: Inspect and Repeat
After removing the first tendon, inspect the chicken breast again to ensure no other tendons are present. Repeat the process if necessary.
Common Mistakes to Avoid
While removing tendons is a straightforward process, there are a few common mistakes that can lead to frustration. Here are some tips to avoid them:
- Using a Dull Knife: A dull knife can make the process more difficult and increase the risk of injury. Always use a sharp knife.
- Cutting Too Deep: Be careful not to cut too deep into the chicken breast, as this can compromise the integrity of the meat.
- Skipping the Inspection: Always inspect the chicken breast thoroughly to ensure all tendons are removed.
Cooking Tips for Chicken Breast
Once you've successfully removed the tendons, here are some cooking tips to ensure your chicken breast turns out perfectly:
Marinating for Flavor
Marinating the chicken breast before cooking can enhance its flavor. Use a mixture of olive oil, lemon juice, garlic, and herbs for a simple yet delicious marinade.
Proper Cooking Techniques
Cooking chicken breast at the right temperature is crucial. For grilling, preheat your grill to medium-high heat and cook for about 6-8 minutes per side. For baking, preheat your oven to 375°F (190°C) and bake for 20-25 minutes.
Variations of Removing Tendons
While the basic method of removing tendons is effective, there are a few variations you can try depending on your preferences:
Using Kitchen Tweezers
If you're having trouble grasping the tendon with your fingers, kitchen tweezers can provide a firmer grip, making the process easier.
Freezing the Chicken Breast
For tougher tendons, you can partially freeze the chicken breast before attempting to remove the tendons. This makes the tendons more rigid and easier to grasp.
Health Benefits of Removing Tendons
Removing tendons from chicken breast not only improves the texture of your dish but also has some health benefits:
- Improved Digestion: Removing tough tendons can make the chicken easier to digest, especially for individuals with sensitive stomachs.
- Enhanced Nutritional Value: By ensuring the chicken is tender and well-prepared, you maximize its nutritional benefits, providing your body with high-quality protein.
Frequently Asked Questions
Q: Can I leave the tendons on the chicken breast?
While you can leave the tendons on, they can make the chicken tough and chewy. Removing them ensures a more enjoyable dining experience.
Q: Is it safe to eat chicken tendons?
Yes, chicken tendons are safe to eat. However, they don't break down easily during cooking, which can affect the texture of your dish.
Q: How long should I marinate the chicken breast?
For best results, marinate the chicken breast for at least 30 minutes to 2 hours. This allows the flavors to penetrate the meat properly.
Conclusion
Learning how to remove tendon from chicken breast is a valuable skill that can significantly enhance your cooking experience. By following the steps outlined in this guide, you can ensure that your chicken dishes are tender, flavorful, and restaurant-quality.
We encourage you to practice this technique and share your experiences in the comments below. For more cooking tips and recipes, explore our other articles and continue your culinary journey!
Happy Cooking!


